How to install Nami Wallet extension
Published on 12 March 2022
Are you looking for a wallet to be able to interact with applications of the Cardano Network? Nami wallet is an excellent option, easy to install and operate.
Hand in hand with the growth of Cardano, this wallet has appeared recently and it is capable of connecting to mainnet or testnet. It allows not only to operate with projects that have already been launched, but also with projects that are in their testing phase.
Nami wallet is a non-custodial wallet that can be installed as a browser extension and allows the user to interact with decentralized applications (dApps).
Currently it is already available to operate as an extension of Crhome, Brave and Edge.
It is a free and open source extension that can be downloaded from the browser’s extension manager.
Installing Nami wallet
If you want to know how to use Nami extension Wallet on chrome, you just to follow a few steps. The Nami Wallet extension can be found in the Chrome Web Store. To install the official version and avoid confusion, it is recommended to go to the official namiwallet.io page and from there, select the download. The link will take us to the Nami download page in the Chrome Web Store and from there we can confidently download the corresponding wallet.
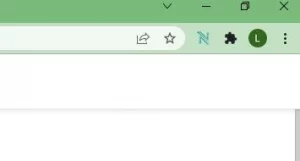
Once the extension has been downloaded (just a few seconds will be enough) it will be available in the upper right part of the browser.
Like other extensions, we can leave its icon hidden and discover it every time we need it, or we can activate it and leave it always visible for faster access.
Creating our new wallet
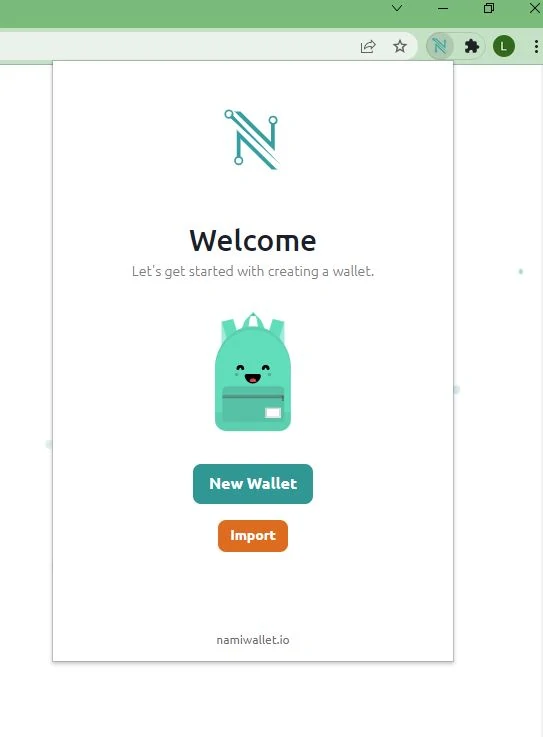
To start we will click on the Nami icon and the welcome screen will be opened. We will see the legend that announces “Let’s get started with creating a wallet”.
As with other wallets, we will have the option of generating a completely new wallet or importing an already created one.
At this point we will move forward by creating a new wallet with the corresponding button.
Another legend will appear with the first privacy warning “Make sure no one is watching the screen, while the seed phrase is visible”.
After accepting the terms and conditions we must accept to jump to the next step.
The seeds phrase
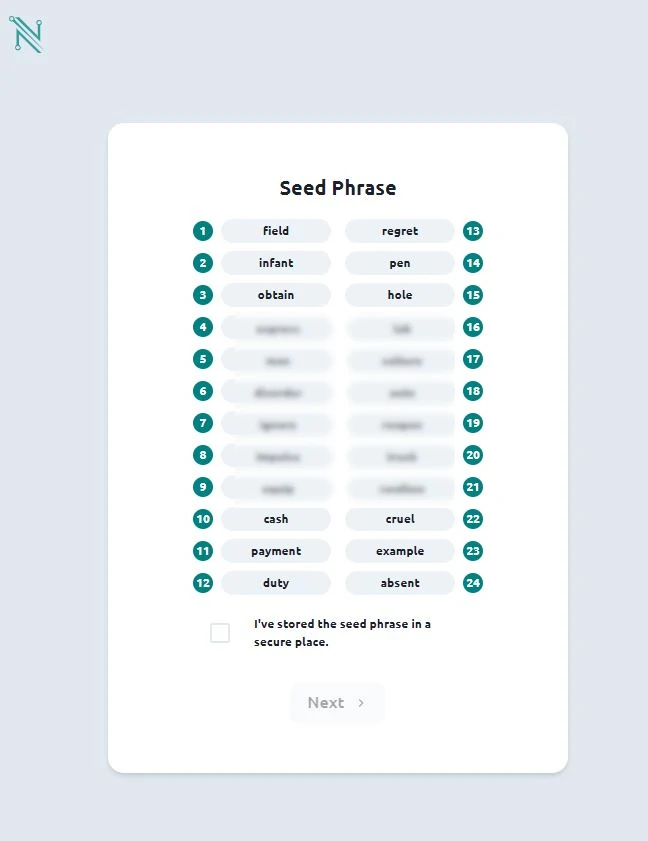
The wallet will now provide us with the seed phrase, a total of 24 words that we must keep in a safe place. The loss of these 24 words could mean the impossibility of recovering our funds
After that, the process will ask us to create a descriptive name to identify our wallet and a password of at least 8 characters to access and perform operations.
It is important to understand that this password will only be used to operate in the wallet while it is installed on our computer with the seed phrase loaded. If we uninstall the extension, change computers or want to install the extension on another computer, it will be necessary to type again the seed phrase and set a new password.
First approximation
Once the wallet is created and with our seed phrase safe, we can start operating.
At first glance, we see the Nami wallet icon on the top left. It has no function. In the center we will find the descriptive name that we created in the previous step and that will help us identify the wallet. On the right, a dropdown icon with various functions.
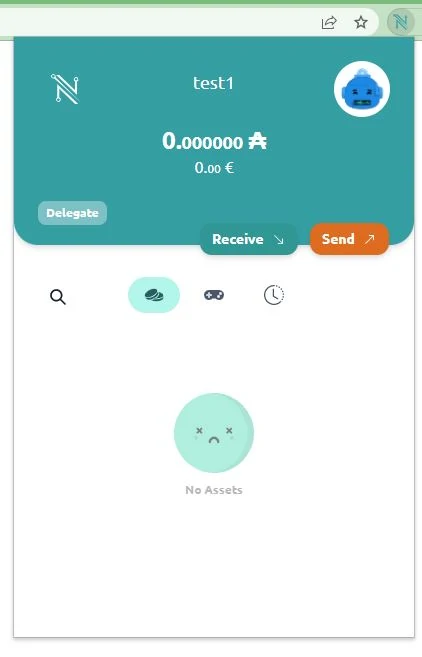
Further down, we will see the balance of the wallet. As it is a wallet that operates on the Cardano network, our balance will be shown in ADA. It will also be displayed, in smaller characters, in FIAT currency. By default, it will be the US dollar, but later we can modify it to see it in Euros.
Below that, we will find a button with the legend “Delegate”. This will allow us to delegate our funds to Staking and earn approximately 5% per year for the ADA we have. At the moment the wallet only allows delegation by default to a single Stake Pool called “Berry” that belongs to the same Nami Wallet developers. If we want to delegate to another pool of our choice, it will be necessary to carry out an additional process, connecting the wallet to decentralized applications prepared for this type of operation.
Continuing with the description, we will find the classic “Receive” and “Send” buttons. The first will show us a QR code and a Cardano network address to copy. It will be our reception address of the Cardano network where we should send our funds from another wallet or from an exchange.
On the contrary, the “Send” button will allow us to indicate an address where to send funds in the future.
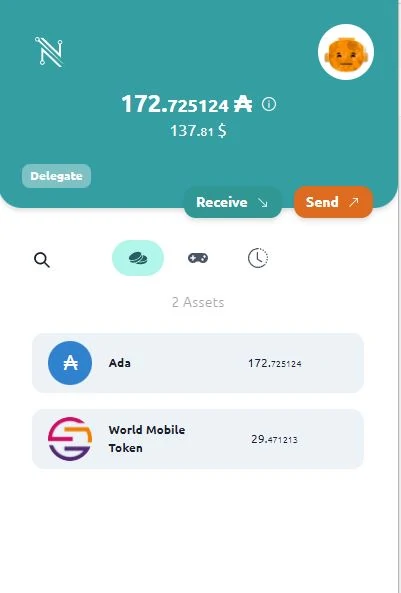
Further down, a search field will appear, and three other icons to select the type of view: Assets, collectibles and history.
In the lower box we will see the list of assets, collectibles or history, depending what we have selected.
The drop down button
In the drop-down button at the top right, which we talked about before, we can find several options:
The first gives us the possibility to create or import a new wallet on the same installation of the extension.
The second is the connection with a hardware wallet, an option that will provide more security if we have a physical device.
Further down the “Collateral” option: it is essential to deposit funds as collateral to be able to make transactions and operate with decentralized applications. It is suggested to deposit 5 ADA, which will be deducted from the wallet balance and will be blocked. If we wish not to continue operating in the future we can recover those funds from the same menu
Then the “Settings” option: Here we can change the avatar, switch between light and dark mode, or select whether our funds are displayed in Euros or US Dollars.
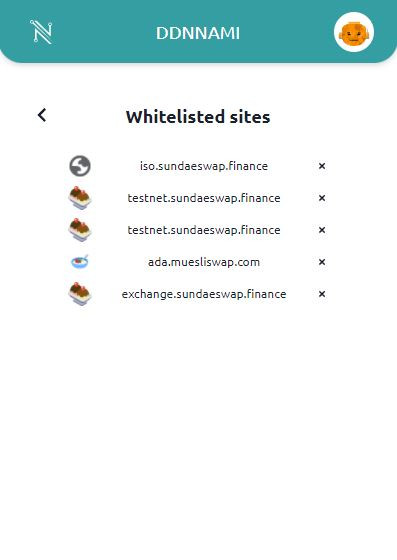
It will also give us the option “Whitelisted sites” which is the list of decentralized applications to which we have connected and approved. From here it will be possible to remove the authorizations of those applications that we no longer need.
Finally, the last option will allow us to operate on main or test networks. In general, the option will be set to mainnet unless we are advanced users looking to operate on test networks.
Multiple Assets
One of the characteristics of Nami wallet is the possibility of storing several assets of the network. As the network grows, more tokens will be incorporated.
If you want to try a DEFI application you can al read The first DEX experience on Cardano.
Published on 12 March 2022